How to Cure Cannabis - Definitive Guide to Drying and Curing

Curing and drying cannabis are essential steps to master if you expect to grow a strain to its best potential. According to Guru of Ganja Ed Rosenthal, the curing process can make the difference between decent and decadent weed. Free of excess moisture that renders plants more susceptible to mold and disease, properly dried and cured buds offer a stronger aroma, better taste, and more potency.

In this guide, we’ll explore the importance of marijuana drying and curing, the main differences between drying and curing cannabis, and best practices for traditional methods and the latest technologically superior alternatives.

Why are curing and drying cannabis important?

Without these two finishing steps, the work that went into your freshly harvested cannabis is wasted.

Preservation of cannabinoids and terpenes

Proper weed drying keeps potency and flavor intact by preventing the degradation of cannabinoids and terpenes—a.k.a., the compounds primarily responsible for the plant’s aroma and potential therapeutic effects.

Prevention of mold and bacteria growth

Dry cannabis is free of excess moisture content, which means it has less risk of mold and bacteria growth. 

Better smokeability

Cannabis drying results in a more even burn and smoother smoke or vapor, which enhances the overall consumption experience. It also allows the full flavor profile of the strain to emerge.

Easier handling and storage

Knowing how to dry cannabis will make handling and storage a lot easier for you, as it reduces the risk of mold during storage and ensures a longer shelf life for your final product.

A better curing process

Being able to dry marijuana properly ensures you’ll be set up for a successful curing process.

The difference between drying and curing cannabis

A proper dry and cure go hand in hand, but they’re also two distinctive processes with their own unique benefits. 

While cannabis drying is how you ensure your product is easy to handle and less susceptible to disease, a proper cure is how you truly go the distance with your consumers. It works to preserve the flavor and aroma you were able to accomplish in your cannabis drying room, allowing your product to make its way to the consumer with minimal degradation in the transition.

How to dry cannabis

If you’re looking for the best drying method, keep in mind your approach will vary depending on your environment, available tools, and what sort of strains you’re working with. It also depends on whether you prefer to trim buds early when they’re wet or later after they’ve dried. See our wet trimming vs dry trimming if you need help picking the best trimming method.

Required tools:

  • Drying racks or lines for hanging whole plant to dry
  • Hygrometer for measuring temperature and humidity levels
  • Fan
  • AC unit (optional)
  • Dehumidifier (optional)

Steps:

1. The first thing you’ll want to do is locate an ideal drying room to ensure your plants are properly dried when the time comes. A good drying room will be dark with temperatures between 60-70 degrees Fahrenheit and humidity between 55-65%. You’ll be able to assess this information with your hygrometer.

2. Carefully cut large branches or hang whole plants upside down on your rack or line if space allows. Make sure the amount of light can be easily limited and your temperature and humidity quickly controlled. 

3. A pro tip is to keep a consistent airflow throughout the drying process, which can be achieved with an optional AC unit and/or dehumidifier.

4. While hang drying, maintain a temperature of 60-70 degrees Fahrenheit. This will help ensure your plants dry evenly and gradually. In the same vein, make sure your hygrometer keeps a close eye on humidity levels, which should live at 45-55 percent throughout the drying time. 

  • Remember: if your humidity is set too low, your buds will dry out quickly, and the flavor of your cannabis will be off. On the other hand, too-high humidity results in slowly-drying buds that are more prone to mold development.

5. Continue drying until the plant’s stems snap instead of bending. This will typically take around two weeks, but might vary depending on your method of approach (like the 60/60 drying method, for example). If the stems have any give, they need to keep drying. Once they’re brittle and easy to break, your buds are ready to move to the curing stage.

Tips for preventing rapid drying

Hanging plants to dry sounds simple enough, but there is a bit of nuance in knowing when your plants are ready to cure—and knowing how to prevent them from drying out too much in the process.

Stay on top of humidity and temperature levels

As we’ve mentioned, one of the easiest ways to ensure your plants dry properly is to stay dialed into their temperature and humidity levels—again, that’s 60-70 degrees Fahrenheit paired with 45-55 percent humidity. 

Keep air circulating

Although optional, including proper air circulation in the drying area helps prevent pockets of stagnant air from forming, and promotes an even dry for your plants. 

Avoid direct heat

Never expose your hanging-to-dry plants to direct heat sources like heaters or sunlight, as this can accelerate drying and degrade the quality of the buds.

Wet trim ahead of time

We recommend trimming before you hang if you’re worried about the possibility of over-drying. This will reduce the plant’s surface area and slow the drying process.

Invest in high-quality smart equipment

If you have the budget, we recommend looking into some higher-quality equipment to streamline the hanging process and ensure it runs smoothly. For example: drying racks designed specifically for cannabis drying, which allow for proper airflow around the buds.

Adopt proper storage practices

Finally, the best way to ensure your cannabis doesn’t overdry after it’s done hanging is to package it properly. Grove Bags retain up to 37 percent more terpenoids and 7 percent more cannabinoids than traditional packaging. You may also want to consider humidity packs if you’re unable to achieve a desired moisture level as a result of external environmental factors. 

How to Cure Cannabis

Curing with TerpLoc®

TerpLoc technology creates the perfect environment for maintaining quality and consistency in flower from packaging to purchase. However, its biggest attribute comes during curing. Unlike older methods of curing where the flowers would be agitated and ‘burped’ daily, TerpLoc automatically pushes out excess moisture and unwanted oxygen without damaging delicate terpenes. This creates the perfect environment for allowing both the cannabinoids and terpenes to mature.

“Cannabis once dried down properly, thrives and matures best in a stable, clean, high-CO2 environment, not one that is regularly being thrown off balance and forced to reacclimate,” said Ed Rosenthal, American horticulturist, author, and educator. “This is where Grove Bags come in.”

Simply place the properly dried flower into the bag, leaving ~25% empty as headspace, seal it, and allow the magic to happen from two weeks to as much as two months for optimal potency. With this technology designed around the plant’s physiological properties, the curing process becomes quite simple. 

“After 2 weeks, you’ll have an early-stage cure that’s ready for use,” said Rosenthal. “At this level, you could consider the flower ‘finished,’ but patience will be robustly rewarded if you extend the total cure time.”

Curing the Old School Way

Many hobbyists still use the old school mason jar method, which we’ll cover briefly. While this method is considered traditional, it’s also laborious and with a lot of room for error. 

Required tools:

  • Curing room or area
  • Mason jars or airtight containers
  • Hydrometer
  • Thermometer

Steps:

  1. Dedicate a room, area, or storage closet as your curing room. You need a controlled environment around 65 degrees Fahrenheit. It’s important to ensure you have a dark room to avoid light exposure and prevent any terpene or THC degradation. 
  2. Fill mason jars with dried cannabis to about 75 percent of their capacity.
  3. Open the jars daily for 2 to 3 minutes during the first week of curing to “burp” them and exchange air for about two weeks. 
  4. After two weeks, you can burp the jars every few days. Just make sure to pay attention to your hydrometer to ensure your buds maintain the proper relative humidity level.

“Curing in glass jars is tedious and risky,” said Rosenthal. “With the slightest sign of sweating you have to open the jar to remove the humidity – sometimes several times a day in order to prevent molds and bacteria from ruining the buds. Why risk all your hard work when there are easier ways to cure? ”

Tips for curing with TerpLoc

  1. Invest in a moisture meter: for an accurate moisture reading during the dry process, stick the stainless steel pins into the flower stem. Watch tutorial here.
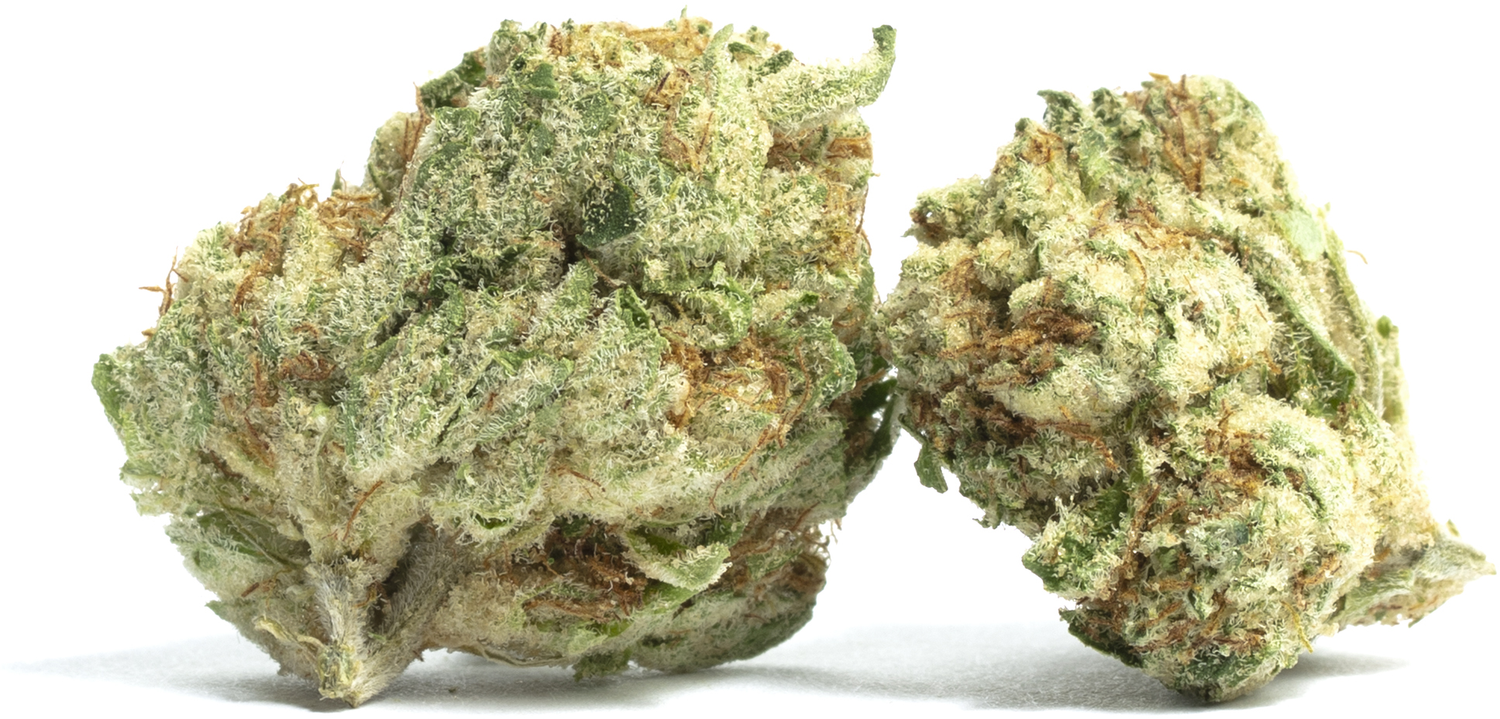
  2. Keep an eye on moisture content: for an optimal cure, cannabis should be dried to at least a 10-12% moisture content.
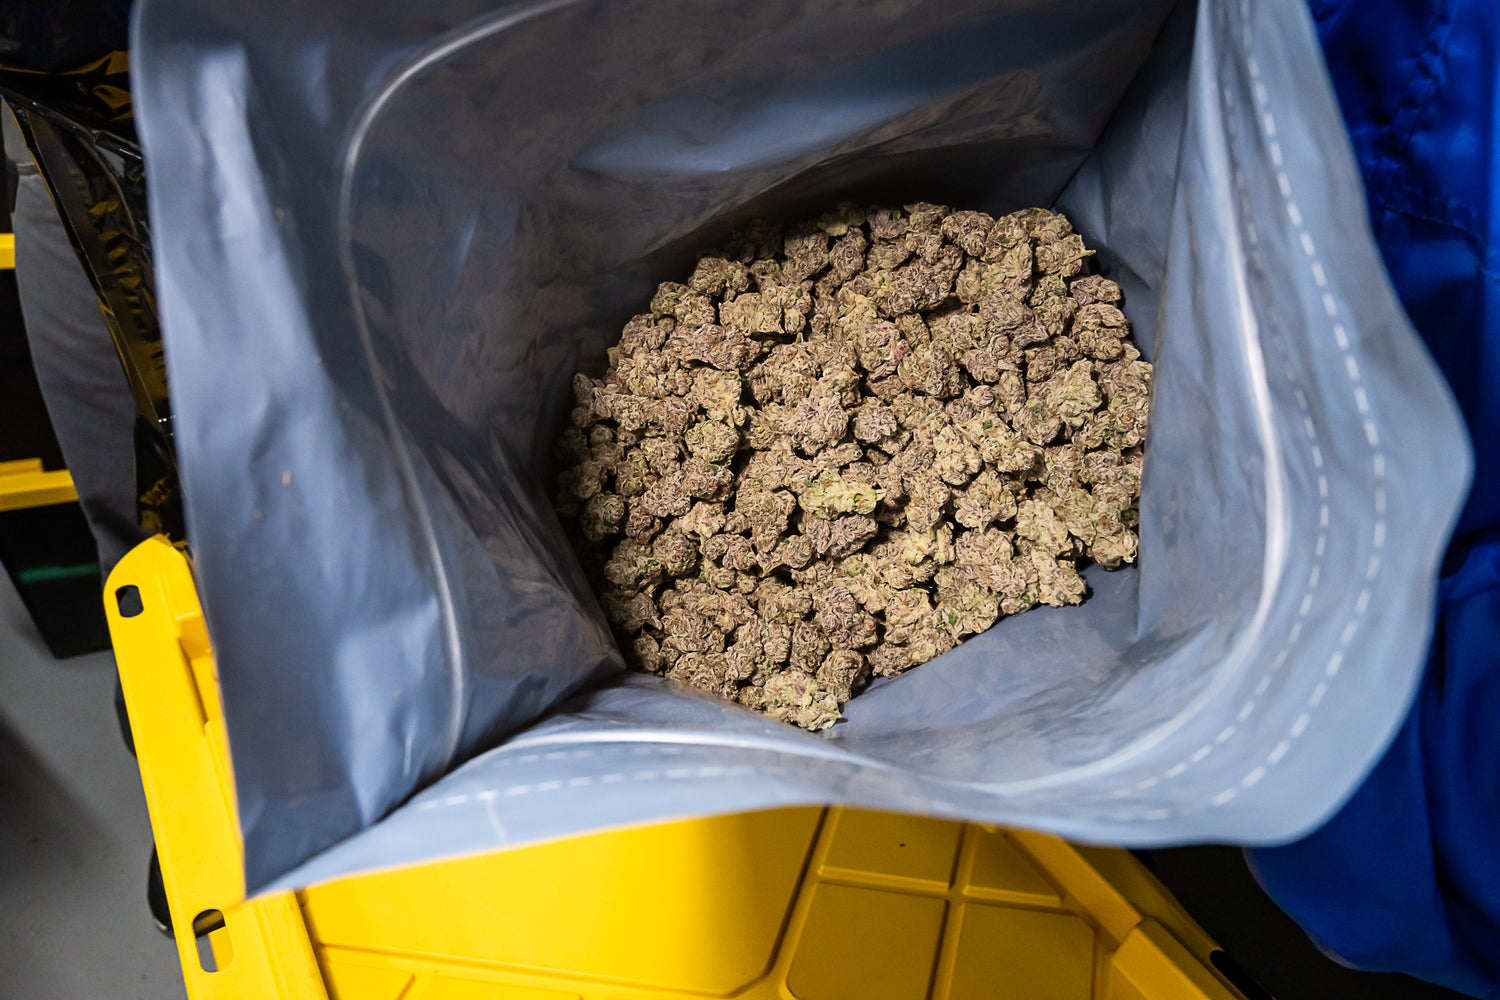
  3. Save some space: Fill your bags around ~75% full, leaving headspace to help create the microclimate inside the bag. Do not squeeze the air out of the pouch.
  4. Patience is a virtue: Akin to a good wine, the taste of cannabis improves with age and the longer you cure your buds, the more effective the process will be.

Frequently asked questions about cannabis curing and drying

Should you trim fan leaves before drying?

Figuring out when you trim your leaves depends entirely on your personal preference. That being said, we recommend trimming before drying. This helps by removing excess plant material to ensure you achieve an even dry. 

How long does it take to dry weed?

The drying process can take anywhere between three days to two weeks; it depends entirely on the strain you’re working with, your geographical location, and the conditions of your drying room. Your best bet for understanding when your weed is thoroughly dried and ready to be cured is to focus on the stems. Once your stems are brittle or easily breakable, you’re ready to move. 

What’s the best humidity for cannabis?

The best humidity for cannabis to be stored in is 45-55 percent. However, keep in mind this can also vary depending on location, strain type, and environmental settings.